A Comprehensive Guide to Installing a Wall-Mounted Heat Pump
As Montreal's HVAC experts, AirGreen is committed to providing top-tier heating and cooling solutions, including the versatile wall-mounted heat pump. Also known as a mini-split, a wall-mounted heat pump is a high-efficiency device capable of both heating and cooling your home. In this extensive article, we will guide you through the process of installing a wall-mounted heat pump.
What is a Wall-Mounted Heat Pump?
Before delving into the installation process, let's define what a wall-mounted heat pump is. A heat pump operates by extracting heat from the outside air and using it to heat your home. In cooling mode, the process is reversed, with the pump removing heat from your home and expelling it outside. The term "mini-split" is also commonly used for these systems because they consist of two parts: an outdoor compressor and an indoor air-handling unit.
Why Hire Professionals?
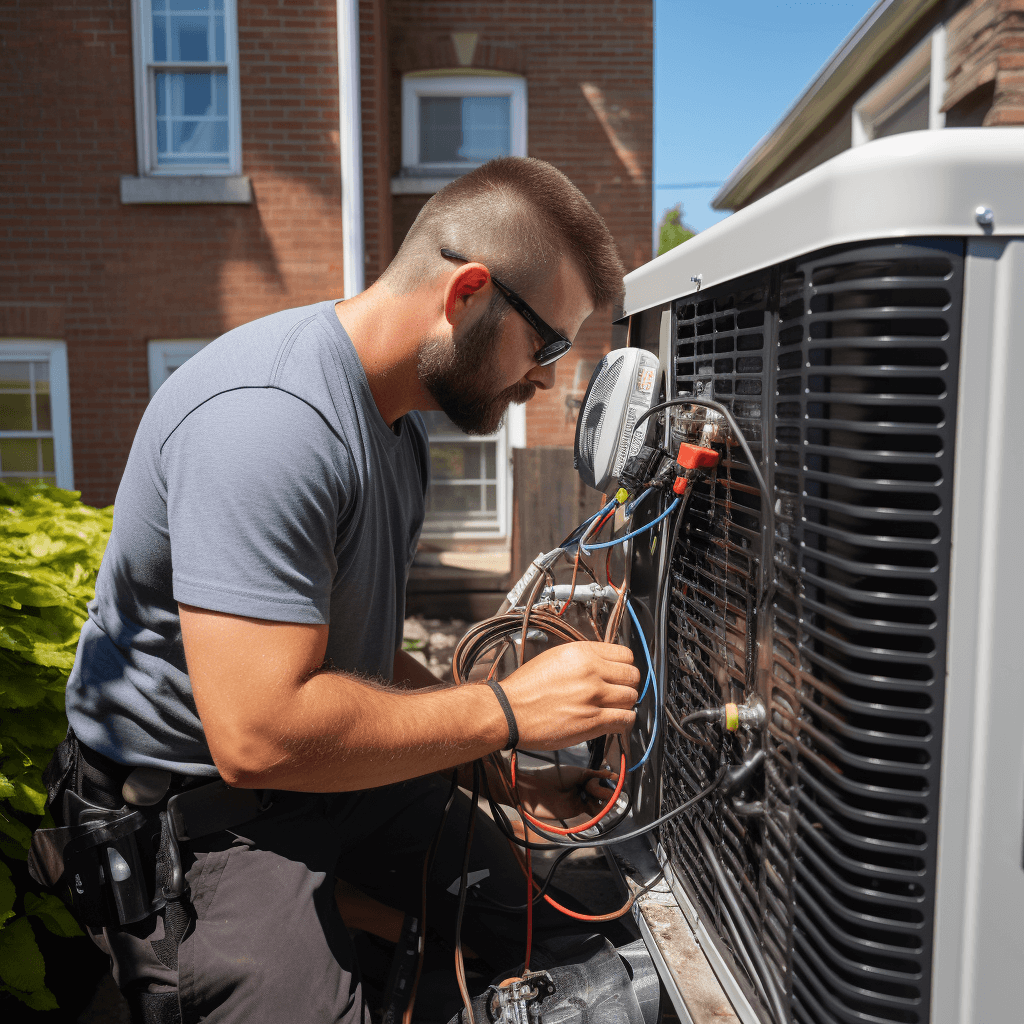
The installation of a wall-mounted heat pump is a complex process that involves handling refrigerant, electrical connections, and mounting hardware. This task requires experience, knowledge, and specific tools. Thus, we at AirGreen strongly recommend hiring a professional HVAC company like ours to ensure the heat pump is installed correctly, efficiently, and safely.
Steps Involved in the Installation Process
While the specifics may vary depending on the model and the individual situation, the general steps of a wall-mounted heat pump installation are:
1. Select the Best Location
Choosing the right location is crucial. The indoor unit should be installed on an exterior wall where there is access for the refrigerant line to reach the outdoor unit. The outdoor unit should be placed on a flat surface, free from obstructions, and with good air flow.
2. Mount the Indoor Unit
The indoor unit should be mounted at a height where it can effectively distribute air across the room. It's usually mounted on brackets that are secured to the wall.
3. Install the Outdoor Unit
The outdoor unit should be installed on a concrete pad or wall brackets. It should be level and stable, with adequate space for air circulation.
4. Connect the Indoor and Outdoor Units
The indoor and outdoor units are connected via a conduit that carries the refrigerant, a power cable, and a condensate drain. This conduit is usually run through a hole in the wall behind the indoor unit.
5. Check the System
After the installation, the system should be checked for proper operation. This includes checking that the thermostat and remote control are functioning correctly, and that the system is heating and cooling as it should.
Maintaining Your Wall-Mounted Heat Pump
Once your wall-mounted heat pump is installed, regular maintenance is essential to ensure it continues to function optimally. This includes cleaning the filters regularly, ensuring the outdoor unit is clear of debris, and having professional maintenance checks at least once a year.
At AirGreen, we offer comprehensive maintenance services that cover all aspects of your wall-mounted heat pump. We are committed to helping you enjoy the full benefits of this efficient and versatile heating and cooling system.