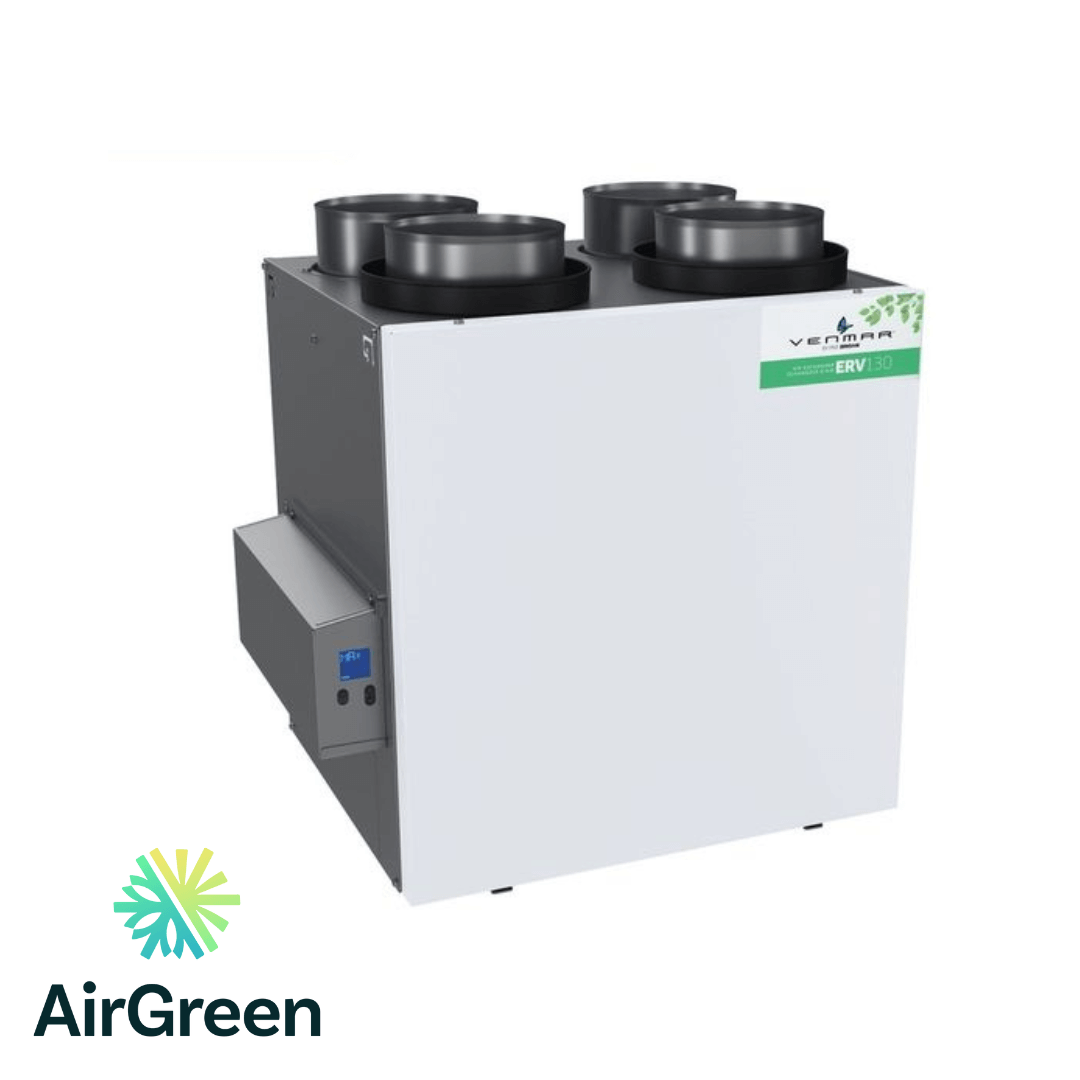
The Art of Cleaning Your Air Exchanger: An In-Depth Guide by AirGreen
At AirGreen, a premier HVAC solutions provider in Montreal, we believe in promoting a healthy and comfortable indoor environment. Air exchangers play a critical role in this pursuit, offering efficient ventilation and improving indoor air quality. But to continue benefiting from its essential services, your air exchanger needs regular cleaning and maintenance. This comprehensive guide provides in-depth information about cleaning your air exchanger to optimize its performance and durability.
Understanding the Importance of a Clean Air Exchanger
Before diving into the cleaning process, let's first understand why cleaning your air exchanger is crucial. A clean air exchanger operates more efficiently, offers improved air quality, reduces energy consumption, and extends the device's lifespan. Regular maintenance reduces the risk of component breakdowns, saving you from costly repair or replacement expenses in the long run.
Preparing for Cleaning
Before you begin, gather the necessary supplies. You will need a vacuum cleaner, mild soap, warm water, a soft cloth, and possibly a small brush for tight spaces. Be sure to turn off the air exchanger and unplug it from its power source to ensure safety during cleaning.
Cleaning Your Air Exchanger: A Step-by-Step Guide
1. Clean the Exterior
Start by cleaning the exterior of the air exchanger. Use a soft cloth and mild soap solution to wipe down the unit's surface. Dry the exterior with another clean cloth.
2. Vacuum the Interior
Open the air exchanger's access panels (referring to the user manual if necessary). Use a vacuum cleaner to remove any dust, dirt, or debris inside the unit. Ensure you clean the fan blades, but do so gently to avoid damage.
3. Wash and Dry the Filters
Most air exchangers have washable filters. Remove the filters and wash them in a solution of mild soap and warm water. Rinse them thoroughly and let them dry completely before reinstalling them.
4. Clean the Heat Recovery Core
The heat recovery core, an integral component of your air exchanger, should be cleaned according to the manufacturer's instructions. This process typically involves removing the core and washing it gently with a mild soap solution, then thoroughly rinsing and drying it before reinstallation.
5. Reassemble the Unit
Once all parts are clean and dry, reassemble the air exchanger. Ensure everything is securely fastened and properly positioned before restoring power to the unit.
Scheduling Regular Cleaning and Maintenance
To keep your air exchanger functioning optimally, regular cleaning is essential. For households with average occupancy and usage, we recommend cleaning your air exchanger at least twice a year, ideally during spring and fall. However, more frequent cleaning may be necessary for larger households or in areas with higher pollution levels.
Professional Air Exchanger Services from AirGreen
Cleaning your air exchanger can be a DIY task, but if you're unsure or uncomfortable doing it yourself, professional help is just a call away. AirGreen's team of HVAC experts in Montreal is ready to provide thorough cleaning and maintenance services, ensuring your air exchanger is in top condition year-round. We also offer a variety of air exchangers, ensuring you have the best equipment to suit your specific needs.
Conclusion
Maintaining a clean air exchanger is crucial for your unit's efficiency, longevity, and the overall quality of your indoor air. With this guide, you can effectively clean your air exchanger, but remember, professional help from AirGreen is always available. Let us assist you in maximizing the benefits of your air exchanger and achieving a healthier, more comfortable home.

