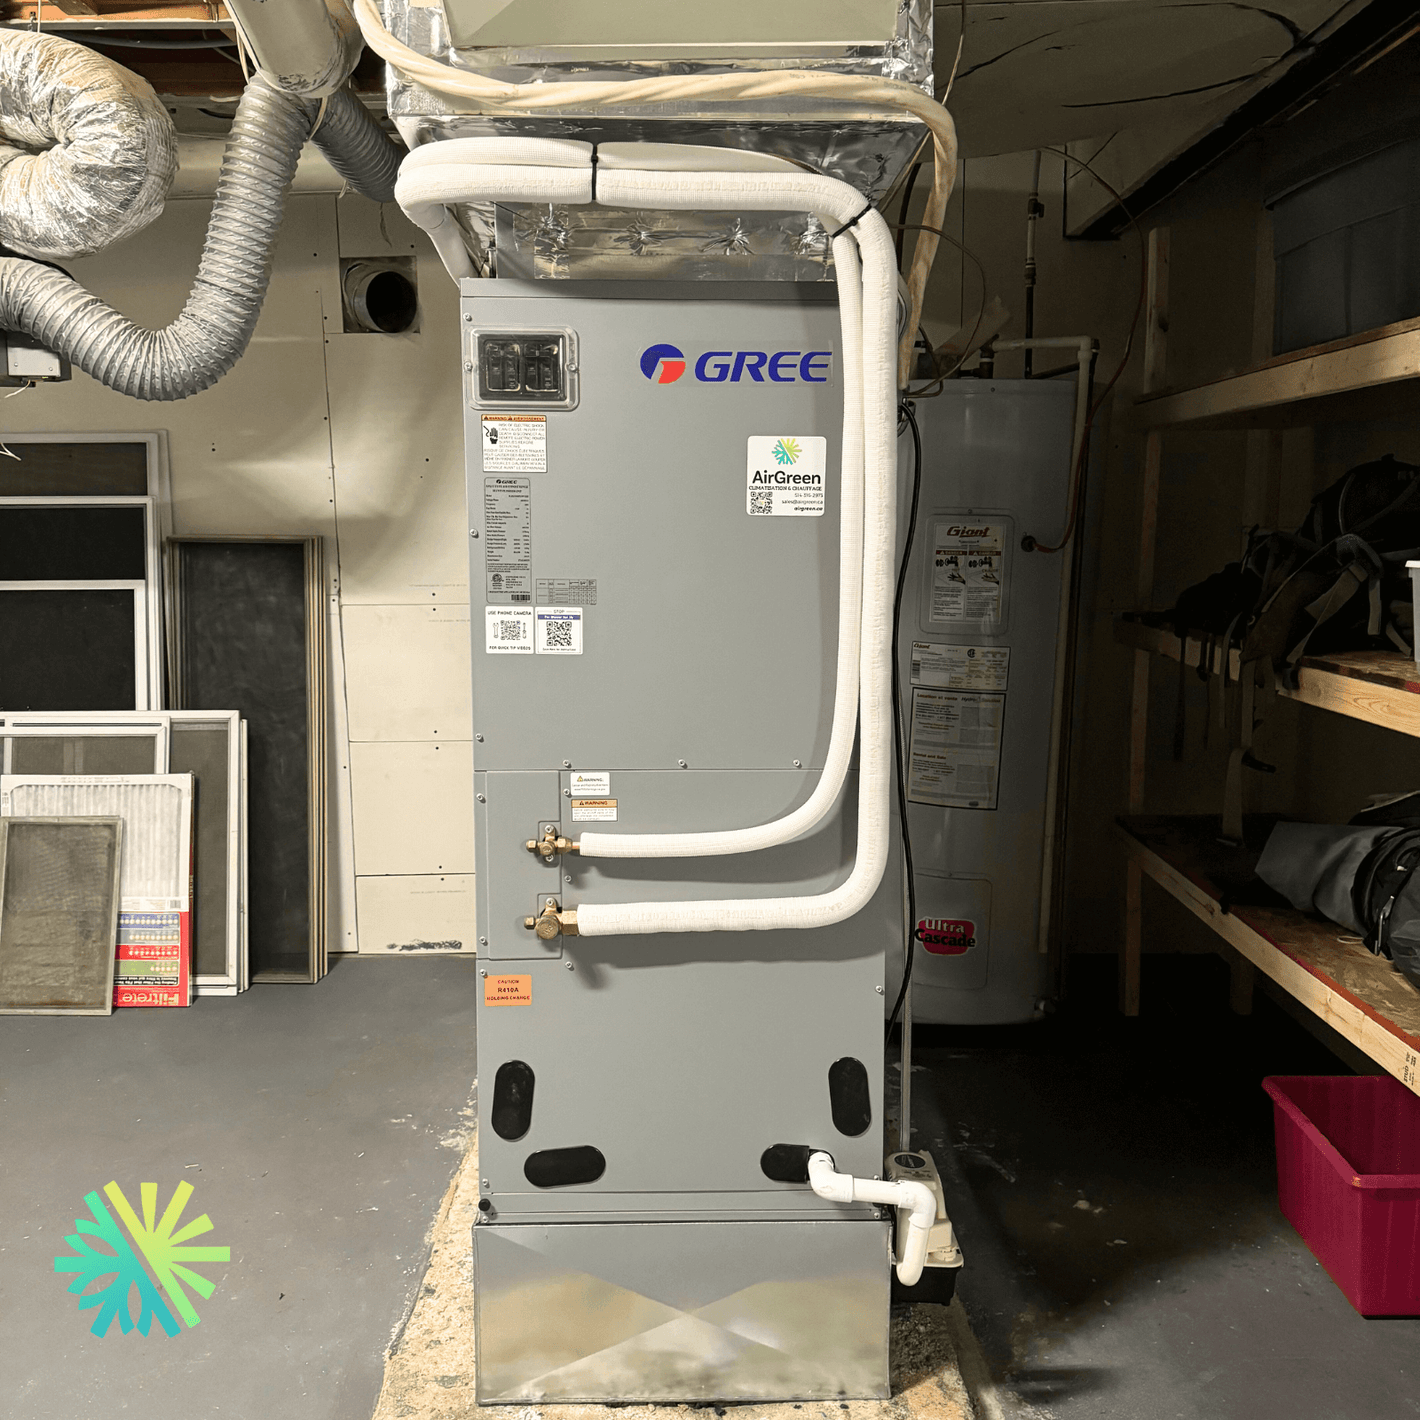
We offer a turnkey installation service to all our customers
The first step for you is simple: just call us or send us an email so that we can understand an overview of your needs. This first contact will allow us to better grasp and plan for your air conditioning, ventilation, and heating project. It will also help us better respond to the various questions you may have about our heat pumps, services, warranties, or government subsidies.
Afterwards, we immediately email you a list of our products. The list includes not only a wide range of machines, but also information relevant to our prices with standard installation, the warranties offered, and the amounts of subsidies to which you will be entitled from the Government of Canada or the Government of Quebec. For some programs, such as the federal government's Greener Homes, it will be important to bring in a government technician before and after installation. For others, such as “Efficient Heat Pump Program” managed by Hydro-Québec, no visit is necessary, you will simply receive a cheque in the mail a few weeks after installation.

Then comes the free on-site estimate. One of our technicians can make an in-person visit to your home to see the specifics of your project. This is an important step that allows us to answer all your questions in person while taking into account the specific needs and requirements of your home. At first contact we will recommend a specific type and capacity to suit your needs. However, once we actually see the intricacies of your property, it is possible that our technician recommends another system that can meet your needs more adequately.
For example, if you have 800-900 square feet in your home you will need a system between 12,000 BTU and 18,000 BTU. Without seeing the premises, it is difficult to say which would be the best. On the one hand, you should not have a machine that is too big in order to avoid that one room is too air-conditioned or heated, while the others do not benefit from it. On the other hand, there can exist the opposite situation where the device may be too small and not meet the general need of the home.
Choosing the perfect system for you may depend on several factors, including the size of your home, the height of the ceilings, the location of the rooms, the insulation, the orientation in relation to the sun, etc. It is always better to talk about it on the spot. It's free and we can get from the first contact to the quote on site in less than a day.
Next comes the installation stage. One of our teams of certified refrigeration engineers will come on site on agreed-upon date to install the wall-mounted or central heat pump you have chosen. Our installers are punctual, respectful, and professional. We know that the work must be clean and of the highest quality, which is why you put your trust in us. Before anything else, our technician will of course consult you to explain what he is about to undertake, where the indoor unit and the outdoor unit will be, etc. We also do all the electrical work, no need to bring in another team. We have all the skills to offer you a turnkey service.
When everything is finished and you are satisfied, all you have to do is send the paid invoice to Hydro-Québec to receive a cheque for the government subsidy. It's that simple!
Finally, for those that look for a DIY solution, if you have the skills to do your own installation, it is very important to vacuum the pipes with a vacuum pump after the installation. Air Crystal can lend the vacuum pump free of charge to its customers.
For example : Installation steps
1. Fixation of the wall support
Once the installation area is chosen for the "split" internal unit, fix the frame to the wall.
2. External connections
Drill the wall and fix the protection and plastic frame. Insert the two connection tubes of the cooling gas, the electric cable and the drainage tube of the condensed water.
3. Connection to the internal unit of the Mini Split
Connect the two Quick Connectors of the cooling gas using a wrench and the electric cable connector. Pay attention to the proper parts assembly.
4. Connection to the external unit (compressor)
Connect the external unit to the Quick Connectors tubes of cooling gas using two wrenches.
5. External connections of the Heat Pump
Connect the electric cable to the external unit using the plastic connector (on some models only).
6. Start the air conditioner
Once all the connections are completed, open the cooling gas tap of the external unit and then turn “ON” the air conditioner.