Introduction: Why Clean Your Wall-Mounted Heat Pump?
Wall-mounted heat pumps are becoming increasingly popular in Montreal, Laval, Longueuil, as well as in the North Shore and South Shore regions. They provide an energy-efficient and effective solution for both heating and cooling. However, to ensure their longevity and efficiency, regular maintenance is essential. Cleaning your wall-mounted heat pump yourself may seem like a daunting task, but with the right techniques, it can become a simple and beneficial activity.
In this article, we will guide you through the process of cleaning your wall-mounted heat pump, ensuring you avoid common mistakes that could harm its performance. At AirGreen, we specialize in the installation and maintenance of wall-mounted heat pumps across Montreal and surrounding areas, and we are sharing our knowledge to help you keep your equipment in top condition.
The Importance of Cleaning Your Wall-Mounted Heat Pump
Before diving into the steps of cleaning, it is important to understand why this task is crucial. A well-maintained heat pump operates optimally, extending its lifespan and improving energy efficiency. A dirty unit can lead to energy overconsumption, inefficient cooling or heating, and higher maintenance costs.
Here are the main benefits of regularly cleaning your wall-mounted heat pump:
-
Optimization of energy efficiency: A clogged filter or a dirty unit can reduce the device's efficiency, leading to higher energy costs.
-
Improved indoor air quality: Regular cleaning helps maintain clean air by eliminating allergens, dust, and mold that can develop inside the unit.
-
Extended lifespan of the device: By cleaning your heat pump, you minimize the risks of premature failures.
-
Reduction of noise: Proper cleaning can reduce excessive noise often caused by dirt and dust accumulation.
Step 1: Turn Off the Unit Before Handling It
Before you begin cleaning your wall-mounted heat pump, ensure that it is completely turned off. This includes both switching off the unit using its main power switch and disconnecting the electrical supply to prevent any risk of electric shock. It is always best to follow your device’s safety instructions and make sure the unit has cooled down before starting the cleaning process.
Step 2: Cleaning the Filters of the Heat Pump
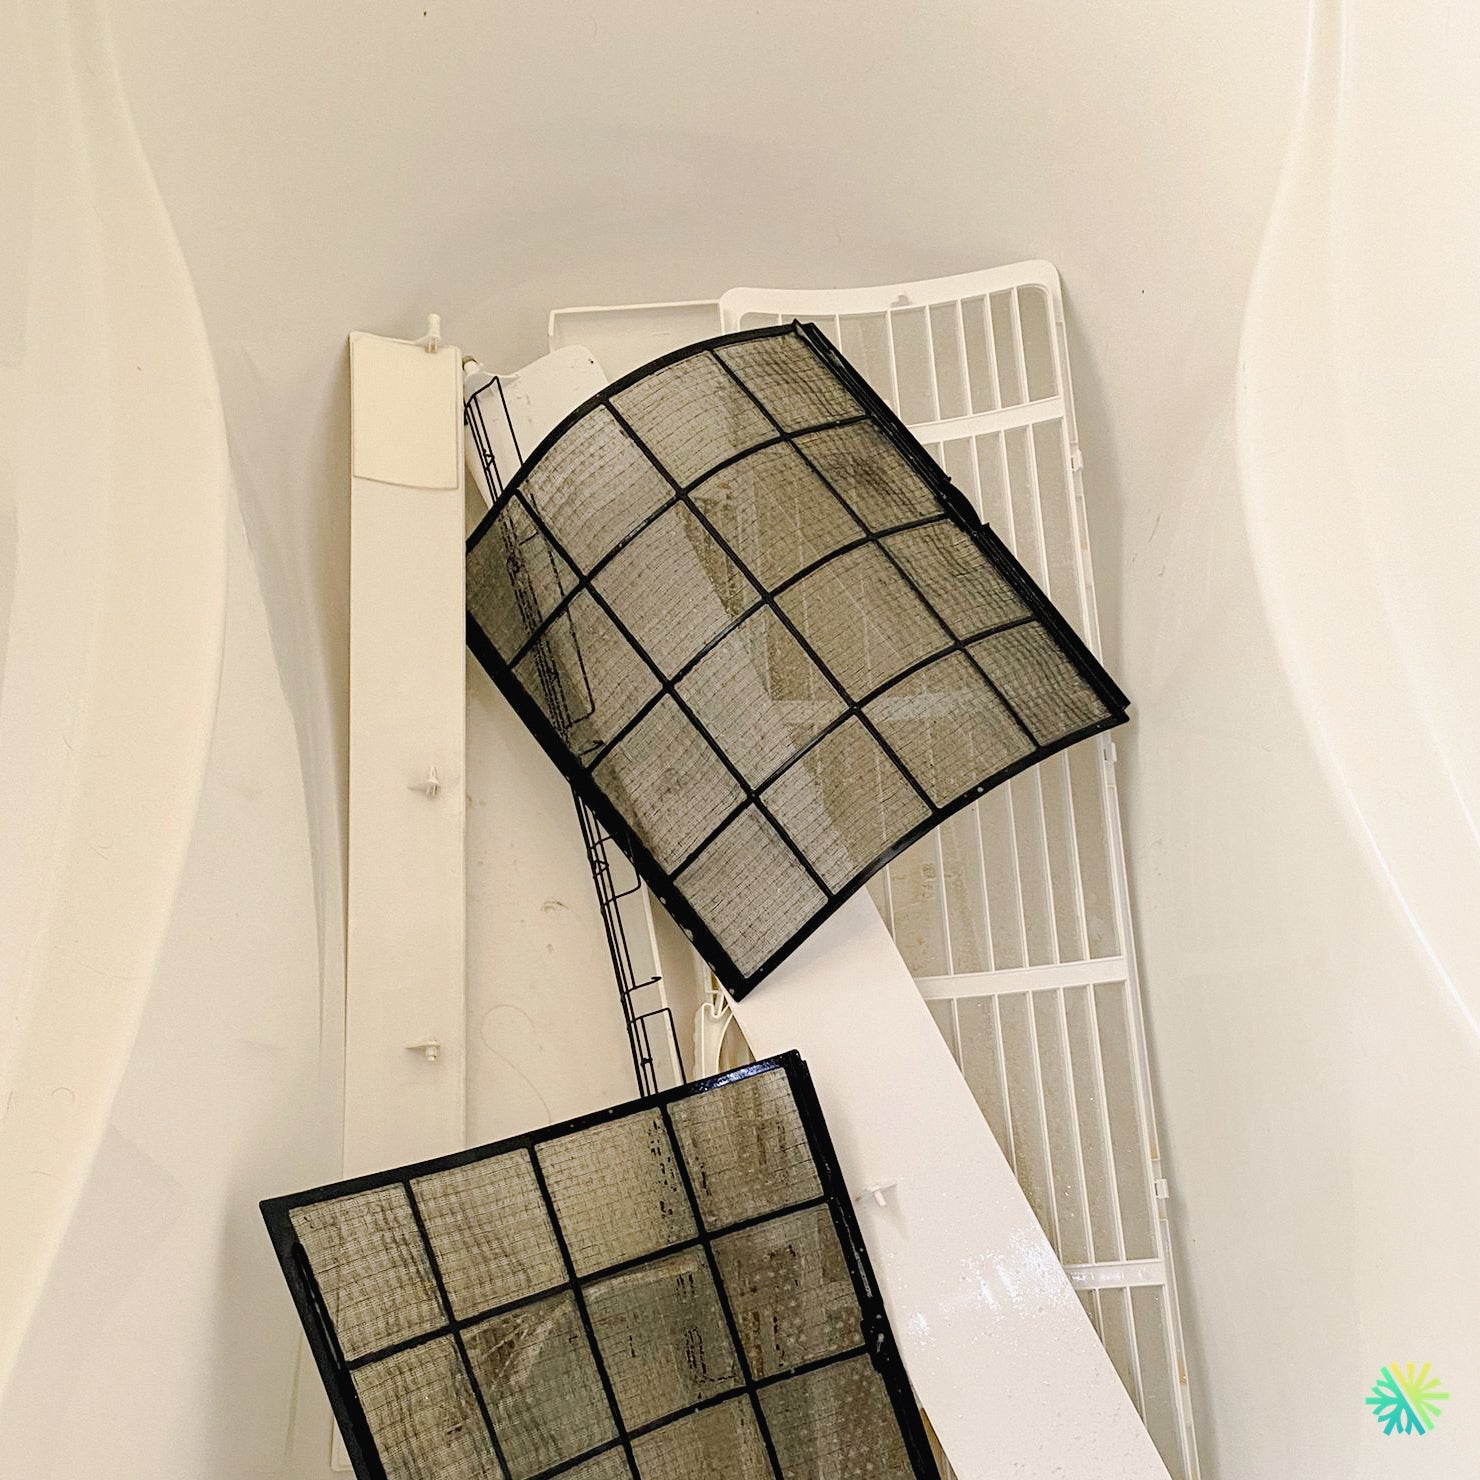
Filters are one of the most important components of your wall-mounted heat pump. They capture dust, allergens, and other particles from the air. A clogged filter can hinder the proper functioning of the unit and degrade indoor air quality.
How to clean the filters?
-
Remove the filters from the unit: Open the front panel of the unit and carefully remove the filters. Depending on your heat pump model, this step may vary slightly, but the procedure is generally straightforward.
-
Vacuum the dust: Use a vacuum cleaner with a soft nozzle attachment to remove any visible dust and debris from the filter.
-
Wash the filters: If the filter is heavily soiled, you can wash it with lukewarm water. Use mild soap without harsh chemicals, and allow it to dry completely before placing it back. Never reinstall a wet filter into the unit.
-
Check the condition of the filter: If the filters are damaged or too worn, it’s best to replace them.
Step 3: Cleaning the Evaporator and Condenser Coils
The evaporator and condenser coils are responsible for the heat exchange in your heat pump. These components must be kept clean to ensure the unit operates efficiently. Improper cleaning can damage these critical parts.
How to clean the coils?
-
Use a soft brush: Gently remove any dirt and dust accumulated on the coils with a soft brush. Make sure not to damage the delicate fins of the coil.
-
Clean with a special coil cleaner: If necessary, use a coil cleaner that can be found at specialized stores. Follow the manufacturer's instructions for applying the product.
-
Check the coil fins: If they are bent, you can use a fin comb to gently straighten them.
Step 4: Cleaning the Condensate Pan
The condensate pan collects the water that forms during the cooling process. A clogged condensate pan can lead to water leaks and even damage your heat pump.
How to clean the condensate pan?
-
Check the pan: Inspect the condensate pan to ensure there are no debris or dirt buildup.
-
Clean it: Use a clean, damp sponge to wipe down the pan. Also, consider checking the condensate drainage pipe to ensure there are no blockages.
Step 5: Inspecting the Outdoor Unit
If your heat pump has an outdoor unit, it also needs to be cleaned regularly. The outdoor unit is exposed to the elements, making it more susceptible to dirt, leaves, and debris buildup.
How to clean the outdoor unit?
-
Check for debris: Remove any leaves, branches, or other debris that could block the air intake of the outdoor unit.
-
Clean the grilles: Use a vacuum cleaner or a brush to clean the outdoor unit's grilles.
-
Check the space around the unit: Ensure there are no obstructions around the unit that could limit airflow.
Step 6: Restarting the Unit and Testing It
Once all the cleaning steps are completed, replace the filters, close the front panel of the unit, and turn the device back on. Check that the heat pump is working properly and ensure that it is emitting a cool airflow and that the noise level is normal.
Conclusion: Regular Maintenance, A Guarantee for Your Heat Pump's Longevity
Regular maintenance of your wall-mounted heat pump is essential to ensure its proper operation and longevity. By following these simple steps, you can keep your device in perfect condition year-round. However, if you don’t feel comfortable performing these tasks, don't hesitate to contact a professional like AirGreen for the maintenance of your HVAC systems in Montreal, Laval, Longueuil, and the North Shore and South Shore.

